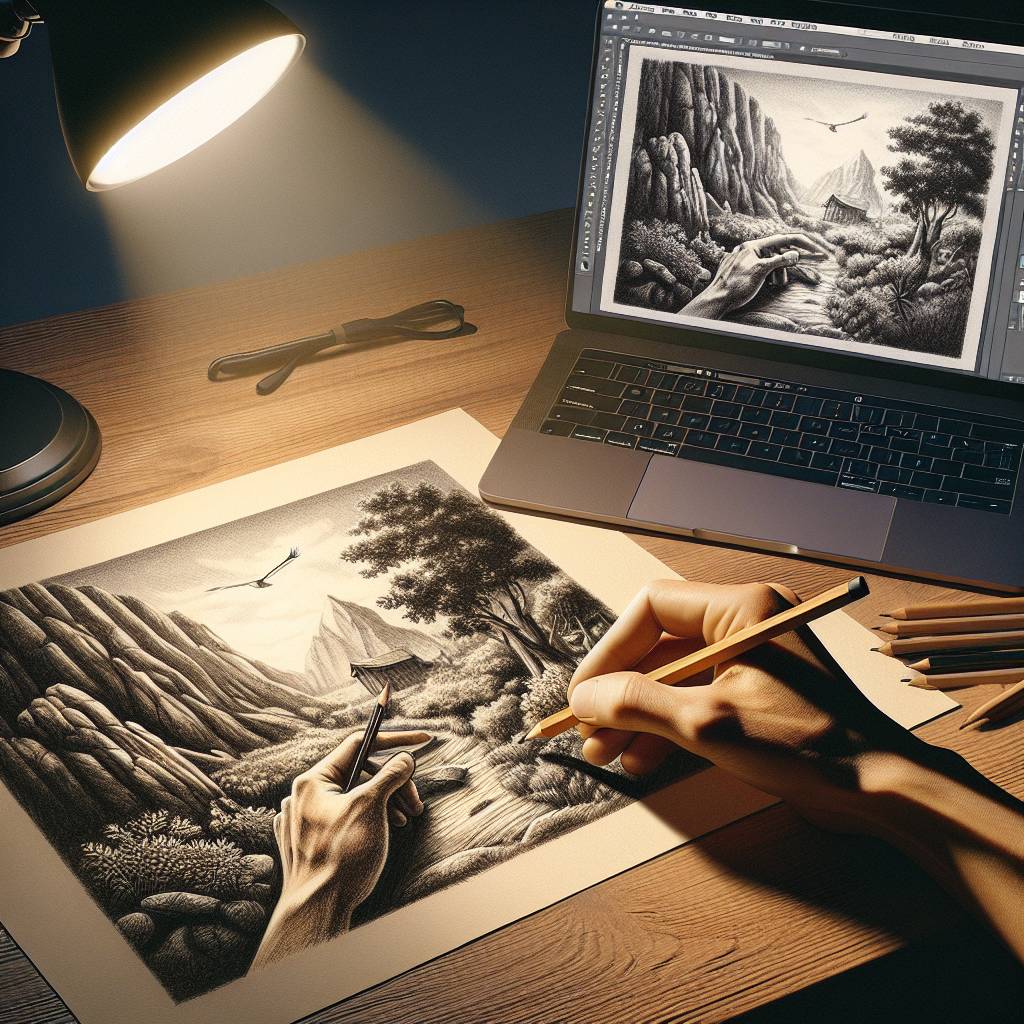
How to Transfer a Hand Drawing to a Computer?
Transferring a hand drawing to a computer is an essential skill for artists, designers, and hobbyists. Digitizing your artwork allows for easy sharing, editing, and archiving. In this guide, we’ll walk you through the various methods of transferring your hand-drawn images to a digital format. Whether you prefer traditional methods or advanced technology, there’s an option for you.
Methods of Transferring a Hand Drawing to a Computer
Here’s a comprehensive comparison of the different methods available:
| Method | Equipment Needed | Pros | Cons |
|---|---|---|---|
| Scanner | Flatbed scanner, Computer | High resolution, Detailed capture | Bulky equipment, Cost |
| Smartphone | Smartphone with a camera, Scanning app | Portable, Easy to use | Lower resolution, May require editing |
| Tablet with Stylus | Tablet, Stylus | Direct drawing, Convenient for editing | Expensive, Learning curve |
Using a Scanner
- Ensure your drawing is clean and free of smudges.
- Place the drawing face down on the flatbed scanner.
- Open the scanner software on your computer and preview the scan.
- Adjust settings for resolution (300 DPI is recommended) and color.
- Scan the image and save it in your desired format (JPEG, PNG, TIFF).
- Open the scanned image in a photo editing software for further touch-ups.
Using a Smartphone
If you don’t have access to a scanner, your smartphone can be a great alternative. Follow these steps:
- Ensure good lighting to avoid shadows and glare.
- Place your drawing on a flat surface.
- Open a scanning app (such as CamScanner or Adobe Scan).
- Capture the image using the app, ensuring the entire drawing is within the frame.
- Adjust the edges if necessary and save the scan.
- Edit the image directly in the app or transfer it to your computer for further adjustments.
Using a Tablet with a Stylus
- Software needed: Procreate, Adobe Fresco, or similar.
- Import your drawing by taking a photo or directly sketching on the app.
- Trace and refine the drawing using the stylus.
- Utilize layers to add color or effects.
- Save and export the final image in your preferred format.
Additional Tips
Here are some additional tips to ensure you get the best results when transferring your hand drawing to a computer:
- Clean the Surface: Ensure that the surface of your drawing is clean to avoid capturing dust and smudges.
- Lighting: If using a smartphone, use natural light to avoid harsh shadows.
- Resolution: Always opt for higher resolution settings to retain the details of your drawing.
- Editing Software: Familiarize yourself with basic photo editing software to enhance your digital images.
- Practice: The more you practice, the better you will get at perfecting the transfer process.
Conclusion
Transferring a hand drawing to a computer can be done through various methods, depending on your resources and needs. Whether using a scanner, smartphone, or tablet, each method has its advantages and drawbacks. By following the steps and tips outlined in this guide, you’ll be well on your way to digitizing your artwork efficiently and effectively.

